Make-Ahead No-Bake Dessert Cups Recipe
Highlighted under: Oven-Fresh Treats
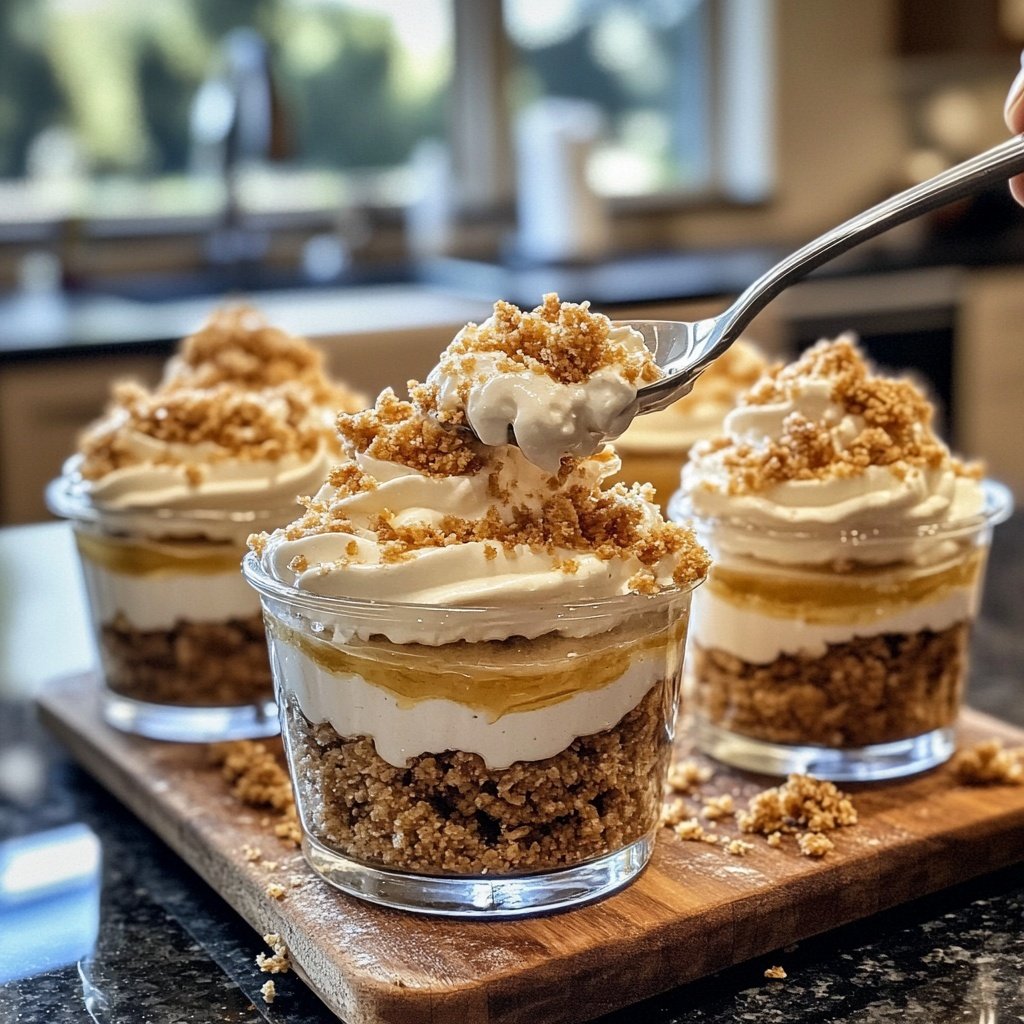
This Make-Ahead No-Bake Dessert Cups Recipe is a delightful treat that can be prepared in advance, making it perfect for parties or family gatherings.
These no-bake dessert cups are a dream come true for anyone who loves a sweet treat without the hassle of baking. Perfectly portioned and filled with layers of creamy goodness, they are sure to impress your guests!
Why You Will Love This Recipe
- Rich layers of flavor that satisfy any sweet tooth
- Versatile and customizable with your favorite toppings
- No baking required, making it a quick and easy dessert option
Perfect for Any Occasion
These Make-Ahead No-Bake Dessert Cups are the ideal solution for busy hosts looking to impress their guests without the stress of last-minute preparations. Whether you're planning a birthday party, holiday gathering, or just a casual get-together, these delightful treats can be made in advance, freeing you up to enjoy the festivities. Their elegant presentation in individual cups makes each serving feel special, while the delicious layers create a memorable dessert experience that everyone will love.
Not only are these dessert cups visually appealing, but they also cater to a variety of tastes and preferences. You can easily adapt the flavors by swapping out the chocolate pudding for vanilla, strawberry, or any other favorite flavor. This versatility allows you to create a dessert that matches your theme or the preferences of your guests, ensuring everyone leaves satisfied.
Easy Preparation and Storage
One of the standout features of this no-bake dessert is how simple it is to prepare. With just a few key ingredients and minimal effort, you can whip up a batch in no time. The process involves basic mixing and layering, making it suitable for bakers of all skill levels. Plus, there's no need for an oven, which means you can keep your kitchen cool, even on warm days.
Once assembled, these dessert cups can be stored in the refrigerator for several days, making them an excellent make-ahead option. This means you can prepare them at your convenience, allowing the flavors to meld beautifully while you focus on other aspects of your event. Just remember to cover them well to maintain freshness and avoid any absorption of odors from the fridge.
Customizable and Fun
The beauty of these no-bake dessert cups lies in their customizability. You can easily tailor them to fit any theme or occasion by changing the toppings and layers. Consider adding fresh fruits like strawberries or bananas, or even a drizzle of caramel or chocolate sauce to elevate the flavor profile. Experimenting with different toppings can turn this simple dessert into an exciting culinary adventure.
For those who enjoy a bit of crunch, consider incorporating nuts or chocolate chips between the layers. You can also create a themed version for holidays by incorporating seasonal flavors and colors, such as pumpkin spice for fall or peppermint for winter. The possibilities are endless, making these dessert cups not only delicious but also a fun project for the whole family.
Ingredients
For the Dessert Cups
- 1 cup heavy whipping cream
- 1/2 cup cream cheese, softened
- 1/2 cup powdered sugar
- 1 teaspoon vanilla extract
- 1 cup crushed graham crackers
- 1 cup chocolate pudding
- 1 cup whipped topping
Feel free to adjust the ingredients based on your preferences!

Instructions
Prepare the Cream Mixture
In a mixing bowl, whip the heavy cream until soft peaks form. In another bowl, mix the softened cream cheese, powdered sugar, and vanilla extract until smooth. Fold the whipped cream into the cream cheese mixture.
Layer the Ingredients
In serving cups, start with a layer of crushed graham crackers, followed by a layer of chocolate pudding, and then a layer of the cream mixture. Repeat the layers until the cups are filled.
Top with Whipped Topping
Finish with a generous dollop of whipped topping on each dessert cup. You can also sprinkle some additional crushed graham crackers on top for added texture.
Chill and Serve
Refrigerate the dessert cups for at least 2 hours before serving to allow the flavors to meld and the dessert to set.
Enjoy your delicious make-ahead dessert cups!
Pro Tips
- For an extra touch, consider adding fresh fruit or chocolate shavings on top for garnish.
Tips for Success
To achieve the best texture in your cream mixture, ensure that your heavy cream is cold before whipping it. This helps to create soft peaks more easily. Additionally, avoid overmixing when folding the whipped cream into the cream cheese mixture; gentle folding preserves the light and airy texture that makes these dessert cups so delightful.
When layering, using a piping bag can help create cleaner, more uniform layers. This not only enhances the visual appeal of your dessert cups but also ensures that each bite has a perfect balance of flavors. If you don't have a piping bag, simply use a zip-top bag with a corner snipped off.
Serving Suggestions
These dessert cups are perfect on their own, but you can elevate the experience with a few simple serving suggestions. Pair them with a cup of coffee or tea for a delightful after-dinner treat. If you're serving them at a party, consider presenting a variety of dessert cups with different flavors and toppings, allowing guests to sample a bit of everything.
For a festive touch, garnish each cup with a sprig of mint or a dusting of cocoa powder. This not only adds a pop of color but also enhances the overall flavor. Remember to provide spoons to make it easy for your guests to dig in and enjoy every last bite!
Questions About Recipes
→ Can I use a different type of pudding?
Yes, feel free to substitute with vanilla or any flavor you prefer!
→ How long can I store these cups in the fridge?
They can be stored in the refrigerator for up to 3 days.
→ Can I make these dessert cups dairy-free?
Absolutely! Use coconut cream and dairy-free pudding to make them dairy-free.
→ What can I use instead of graham crackers?
You can use crushed Oreos or any cookie of your choice for a different flavor.
Make-Ahead No-Bake Dessert Cups Recipe
What You'll Need
For the Dessert Cups
- 1 cup heavy whipping cream
- 1/2 cup cream cheese, softened
- 1/2 cup powdered sugar
- 1 teaspoon vanilla extract
- 1 cup crushed graham crackers
- 1 cup chocolate pudding
- 1 cup whipped topping
How-To Steps
In a mixing bowl, whip the heavy cream until soft peaks form. In another bowl, mix the softened cream cheese, powdered sugar, and vanilla extract until smooth. Fold the whipped cream into the cream cheese mixture.
In serving cups, start with a layer of crushed graham crackers, followed by a layer of chocolate pudding, and then a layer of the cream mixture. Repeat the layers until the cups are filled.
Finish with a generous dollop of whipped topping on each dessert cup. You can also sprinkle some additional crushed graham crackers on top for added texture.
Refrigerate the dessert cups for at least 2 hours before serving to allow the flavors to meld and the dessert to set.
Extra Tips
- For an extra touch, consider adding fresh fruit or chocolate shavings on top for garnish.
Nutritional Breakdown (Per Serving)
- Calories: 250 kcal
- Total Fat: 18g
- Saturated Fat: 10g
- Cholesterol: 70mg
- Sodium: 130mg
- Total Carbohydrates: 24g
- Dietary Fiber: 1g
- Sugars: 12g
- Protein: 3g